
 Whether you’re a new influencer or you’ve been blogging since before the term “blog” was coined, you’ve taken a giant leap forward in your influencer journey by joining Perlu! Here, you’ll meet hundreds of other influencers and get some SWEET collaboration opportunities through Perlu Packs and Collabs.
Before you start joining Packs and applying to Collabs, though, you have to do this one super important (and super easy) task – complete your profile!
Your profile is what other influencers and brands will look at to see if you’re right for their Pack or Collab. You could be the coolest style influencer ever, but unless your profile is finished, no one will know! So let’s make sure your profile is in tip top shape so you can show off what you’re good at and have other influencers knocking on your door (inbox?) begging to collaborate with you.
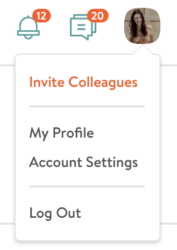
Head on over to account settings, and we’ll walk you through all the steps you need to take to create a killer profile. If you’re not sure how to get there, just click the profile image at the top right of the page and click Account Settings. (Check out the picture to the left if you need help!)
Need Help with More of Perlu’s Features? Schedule a Demo!
<As a Brand> <As an Influencer>
The Basics
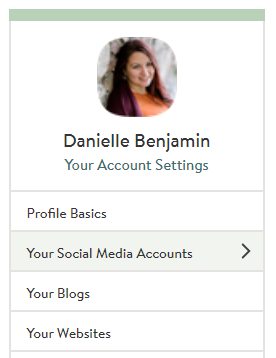 Link Your Social Media Accounts
The easiest way to start setting up your profile is by connecting your social media accounts. Perlu will automatically pull a profile photo and bio from Instagram or Twitter into your profile so you can get something on your profile ASAP (even if you change it, later).
Linking your social accounts will also be important when joining Packs and Collabs. The more accounts you connect, the better other influencers can see what kind of reach you have. Anyone who heads to your profile will also be able to click the social icons and give you a follow. So you’re growing your Perlu network and your social following. Win-win!

So, Like, Who Are You?
Once you’ve linked your social media accounts, head back to the Profile section in Account Settings. On this page, you’ll be able to add your name and a short description of what you do in the Overview box.
Here is where you can tell everyone what kind of influencer you are. Vegan foodie influencer? Instagram travel blogger? Makeup vlogger? Fashion Instagrammer? Extreme backpacker? Tiny home enthusiast? A combination of these? Keep this part short and sweet so an influencer in a hurry can glance at your profile for a few seconds and still leave knowing who you are.
Get Creative with Your Bio
Just because Perlu pulled a bio from social media doesn’t mean you can’t tweak it to make it unique to Perlu. In fact, we’d encourage you to take some time to really make your bio stand out. Why do you do what you do? What kind of projects do you work on? How long have you been an influencer?
Your bio is the best place to show other influencers what makes you different. So get creative! Take a peek at other influencer profiles for inspiration, or maybe check out some of our advisors!
Want to get extra, extra creative with your bio? Use Markdown! Markdown is a super simple way to format your text. For example, if you want to turn some of your bio text into a heading, just add a pound sign (#) in front of the text.
Want to go bold? **Put two asterisks on either side of the text, like this.**
Need to add some emphasis with italics? *Just use one asterisk on either side, like this.*
You can even add a link to your blog with this Markdown: [Perlu](https://www.perlu.com/)
So if I were to add this to my bio:
# Perlu Content Writer
**On the lookout for collaborations to feature on Perlu’s blog and social media accounts!**
*Have something you want to share? Send us a message!*
[Contact Us!](https://www.perlu.com/contact)
It would appear on my bio like this:
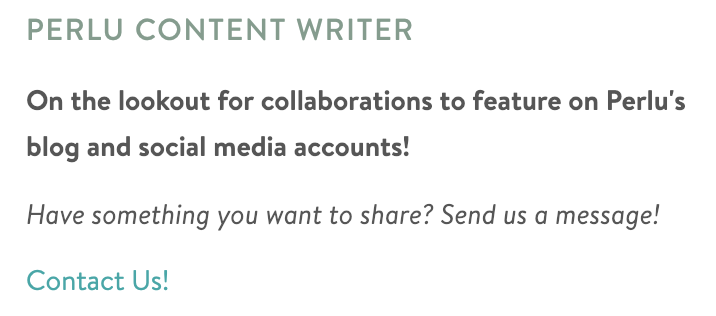
Pretty sweet, right? With Markdown, you can create a bio that isn’t just interesting to read – it’s eye-catching, too!
And remember, there’s no limit on how many words you can use in your bio. We say the longer, the better. That way, every person who visits your profile can get a good idea of who you are and what you do before they ever even see your blog or social media profiles!
Set Your Location
Every influencer niche has dozens of Packs you can join. Most niches also have regional Packs like Canadian Influencers, German Travel Bloggers, LA Foodies, New England Bloggers, Vietnam Travel, and London Lifestyle Bloggers.

Adding your location will help you get into these regional Packs so you can start connecting and collaborating with influencers in your area. This can open up a ton of in-person collaboration opportunities, too. Who knows? You might live right down the street from another influencer!
Add Your Interests
In addition to searching through all the Packs, why not let Perlu help you out? Adding your interests will help Perlu recommend different Packs for you.
Smile for the Camera!
Once you’ve added all the basic information to your profile, it’s time to show Perlu members your face! If you connected your Twitter or Instagram account, you may have noticed that Perlu loads in your profile and/or cover photo for you. You can keep these or upload new photos.Adding a cover image gives your Perlu profile some extra personality. You could use a photo of your blog or YouTube logo, an on-brand photo (i.e. a photo of a travel destination for travel influencers or delicious food for a vegan influencer), or even another photo of you!

Make sure to pay attention to the suggested image dimensions so your photos look clear and professional. Profile images always look best when they’re square!
If you uploaded a photo before connecting to your social media accounts, don’t worry – connecting to your social accounts won’t overwrite any photo you’ve already added.
Choose a Handle
Once your Perlu profile is all set up, it’s time to customize your handle. Your handle is essentially your profile’s URL. Perlu generates a handle for you when you create your account, but it’s just a bunch of numbers and letters.
To make your URL on-brand and easily shareable (and easily remembered!) choose one of the customized URLs that Perlu generates based on your social media profiles.
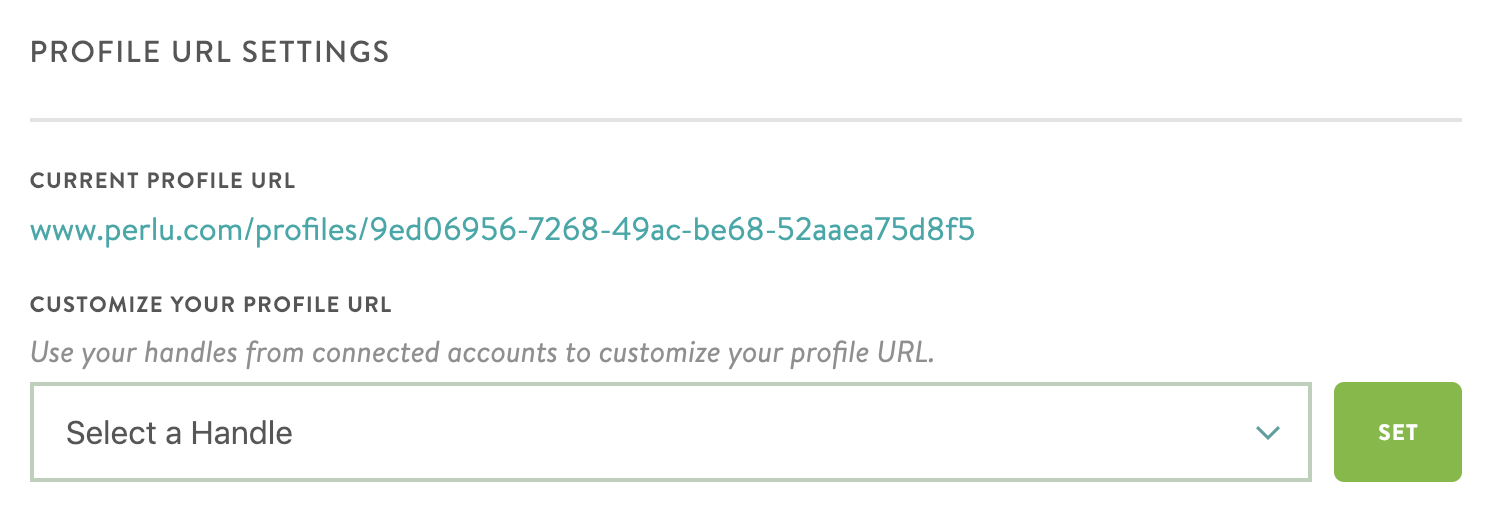
There! Now your handle is shorter, on-brand, and will look clean and uncluttered if you decide to paste the link in any social media bios.
Get Your Badge
Now that your handle is nice and clean, you can generate a badge. A badge can be placed on your website or blog so people can find you and follow you on Perlu, giving you even more connections and collaboration opportunities.
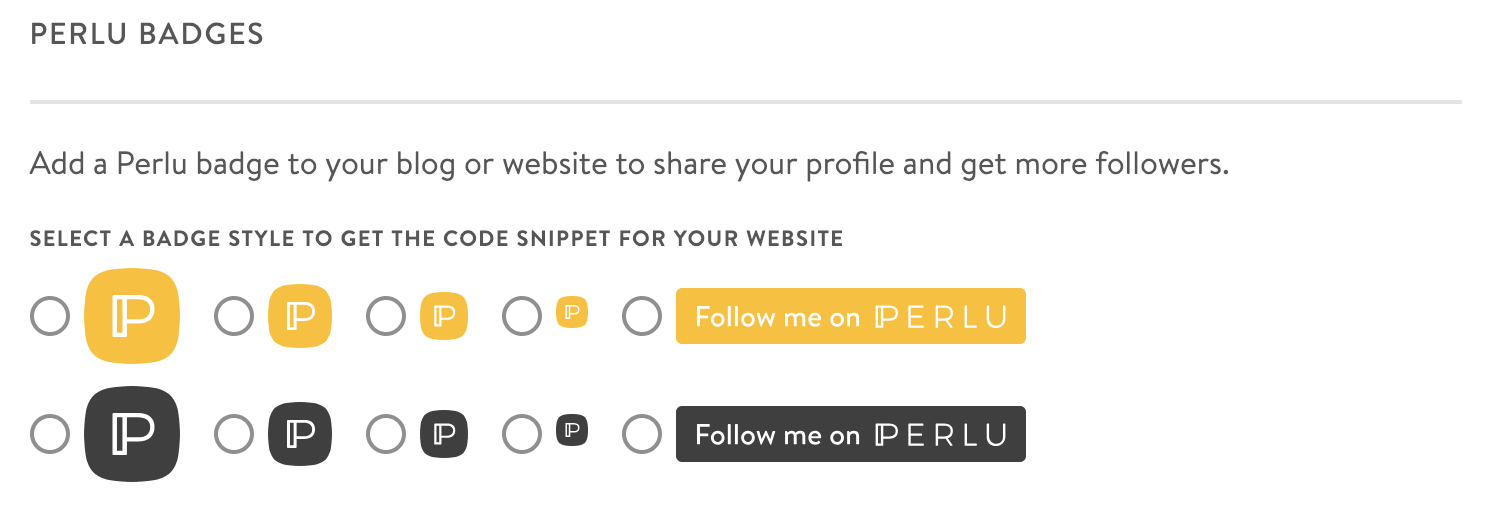
Select the badge you want, and you’ll be given a bit of code to copy into the backend of your website. You could place it at the end of every blog post or in a sidebar for all to see – or both! Anywhere code can go, your badge can go, too.
Get Your $$$
Having a complete profile doesn’t just make it easier for other influencers to find you. A complete profile also makes actual collaborations run smoothly – including getting paid!
There are many opportunities for paid collaborations on Perlu. The easy way to make the payment process go smoothly is by connecting to a Stripe account.
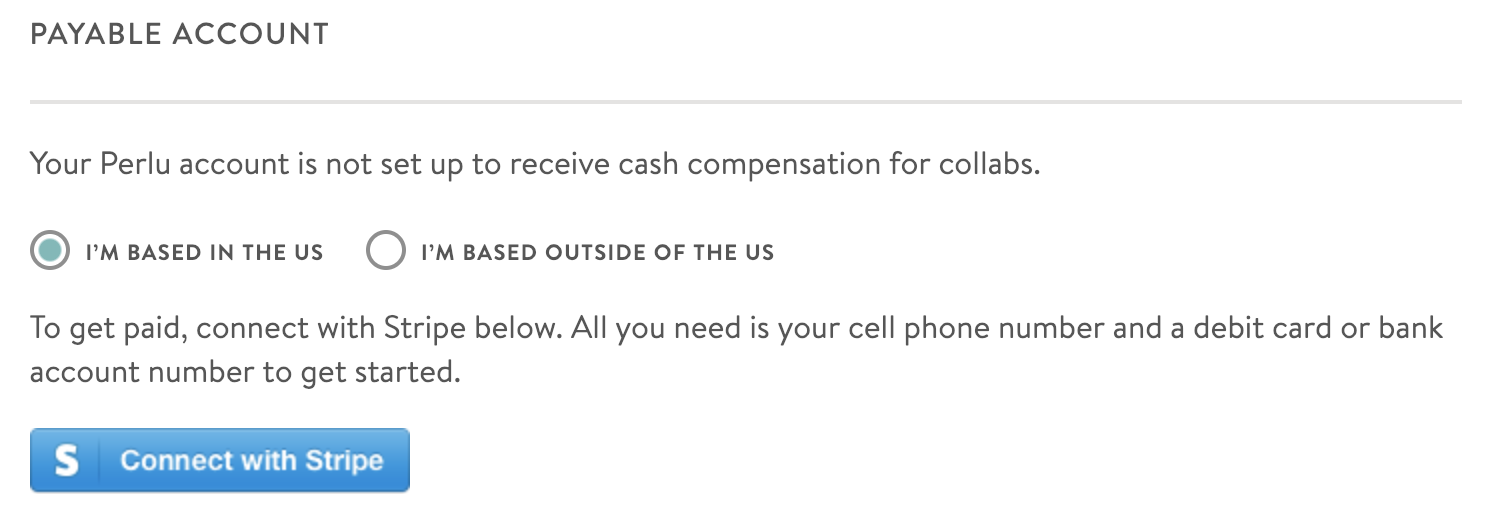
Connecting a Stripe account lets you handle transactions all within Perlu rather than waiting for your payment to come by snail mail or messing with third party apps.
When you’ve finished setting up your profile, it’s time to start exploring different Packs and making connections! Perlu makes networking and collaborating easy – having a complete and unique profile makes it that much easier! You’ll start getting accepted into Packs and Collabs in no time.